How Monitors Work
Summary
A monitor connects sensors to channels: when any of its sensors fires, all of its channels alert you at once.
Details
What a monitor has
A monitor consists of:
- Name — a name so you can recognize this monitor later.
- Enabled — turn the monitor on or off without deleting it.
- Sensors — one or more sensors it watches.
- Channels — how you're alerted, when the monitor becomes unsafe and, if you turn it on, when it becomes safe again.
- Safe alert — whether the same channels also tell you when the monitor becomes safe again (off by default).
- Unsafe / Safe Messages — your own wording for each transition.
- Trigger on startup — whether the very first check, right after you press Start Monitoring, can send an alert (off by default).
Any sensor can alert you
If a monitor has more than one sensor, any single one of them becoming unsafe is enough to make the monitor unsafe. This is useful as a backup — for example, using both Wi-Fi and Bluetooth together.
Example: if Wi-Fi loses the signal but Bluetooth still has the person in range, the Wi-Fi sensor alone is enough to alert you. That way, one method missing a departure doesn't mean you miss it too.
All sensors must agree before it is safe
A monitor only becomes safe again once every one of its sensors says it is safe. One sensor is enough to make it unsafe; all of them are needed to make it safe.
Example: with a Wi-Fi + Bluetooth monitor, it becomes safe again only once both sensors agree. If either one is still unsafe, no safe alert is sent.
The first check after you start monitoring
By default, the very first reading after you press Start Monitoring never sends an alert, even if a sensor is already unsafe — this avoids an alert firing just because you happened to start monitoring while already away.
Turn "Trigger on startup" ON if you'd also like an alert on that very first check — useful if you want confirmation monitoring has started, or you want to know right away if the person is already outside the safe zone when you start. After a phone restart, you'll always get that first alert regardless of this setting.
Tip: The Monitor Setup Wizard (in Settings) walks you through creating a sensor, channel, and monitor together in one guided flow.
Creating a monitor yourself
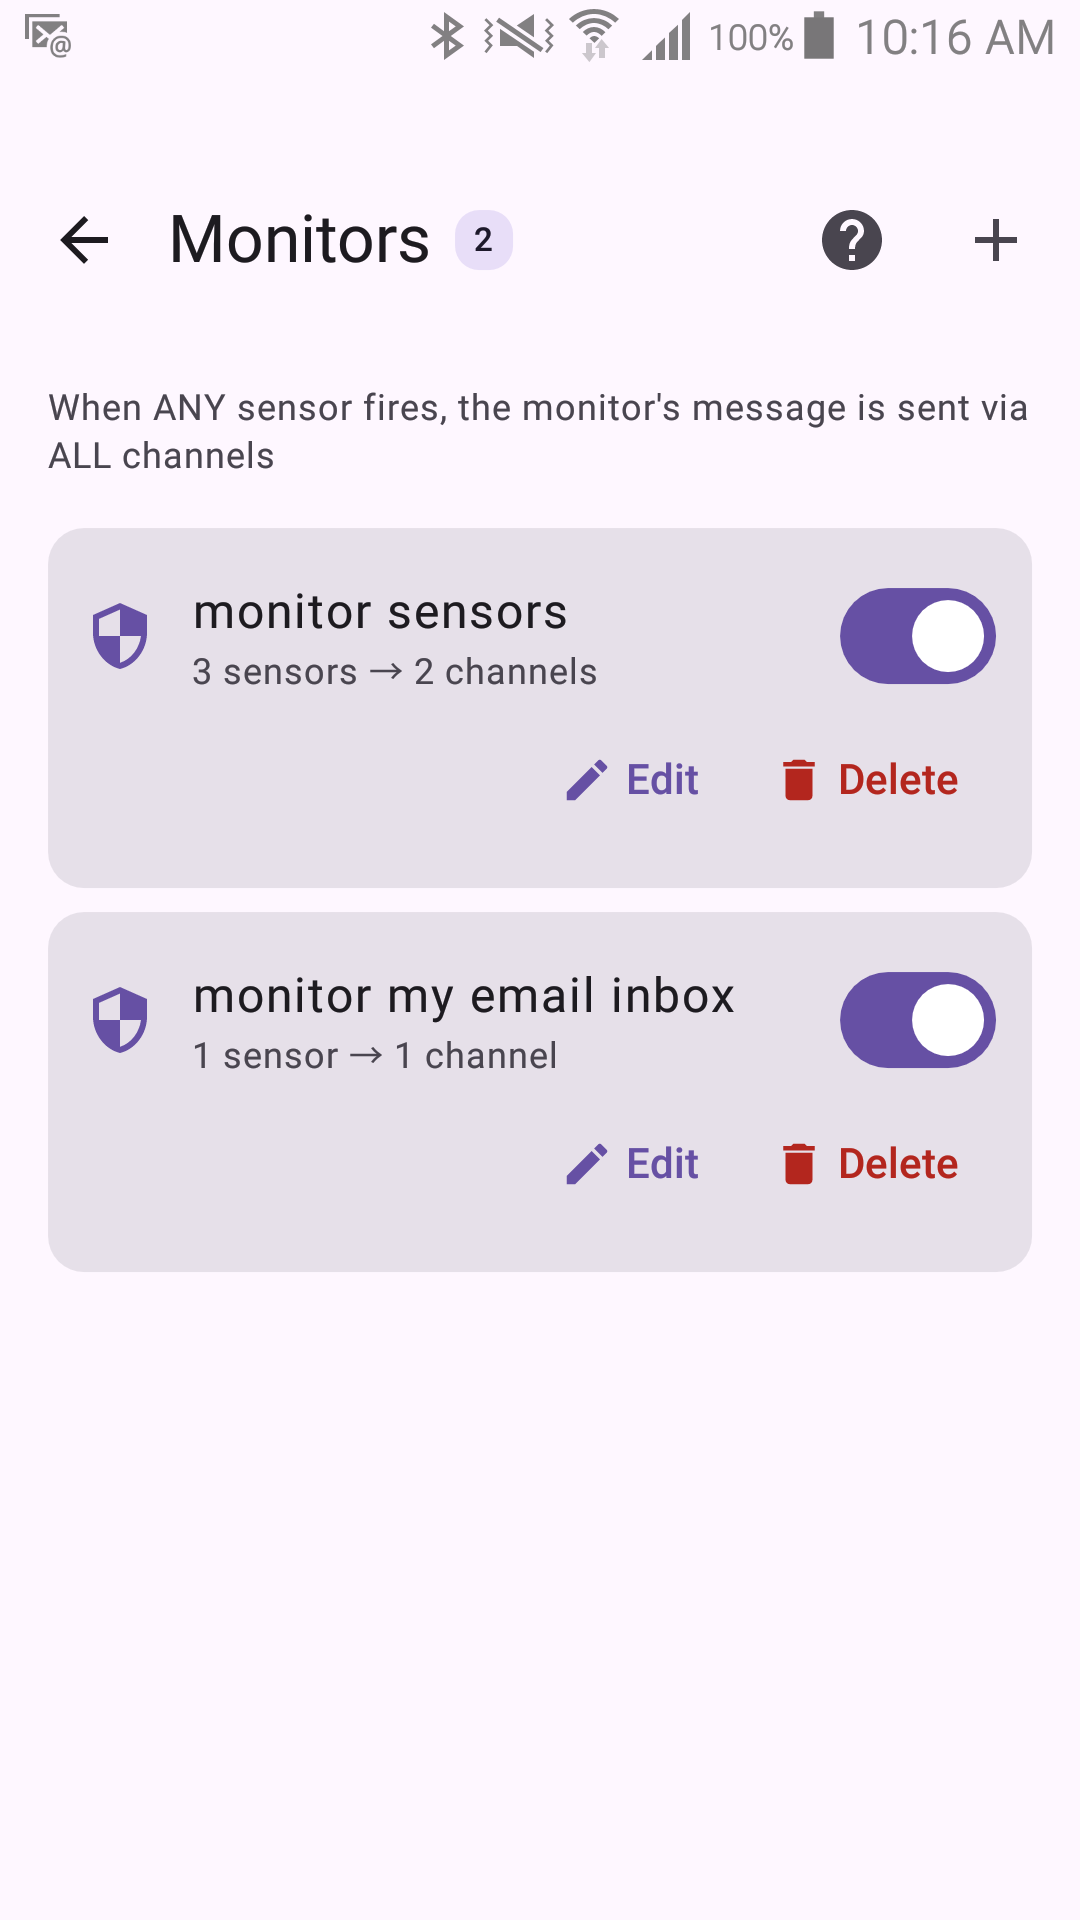
- Go to Settings > Monitors.
- Tap the + button.
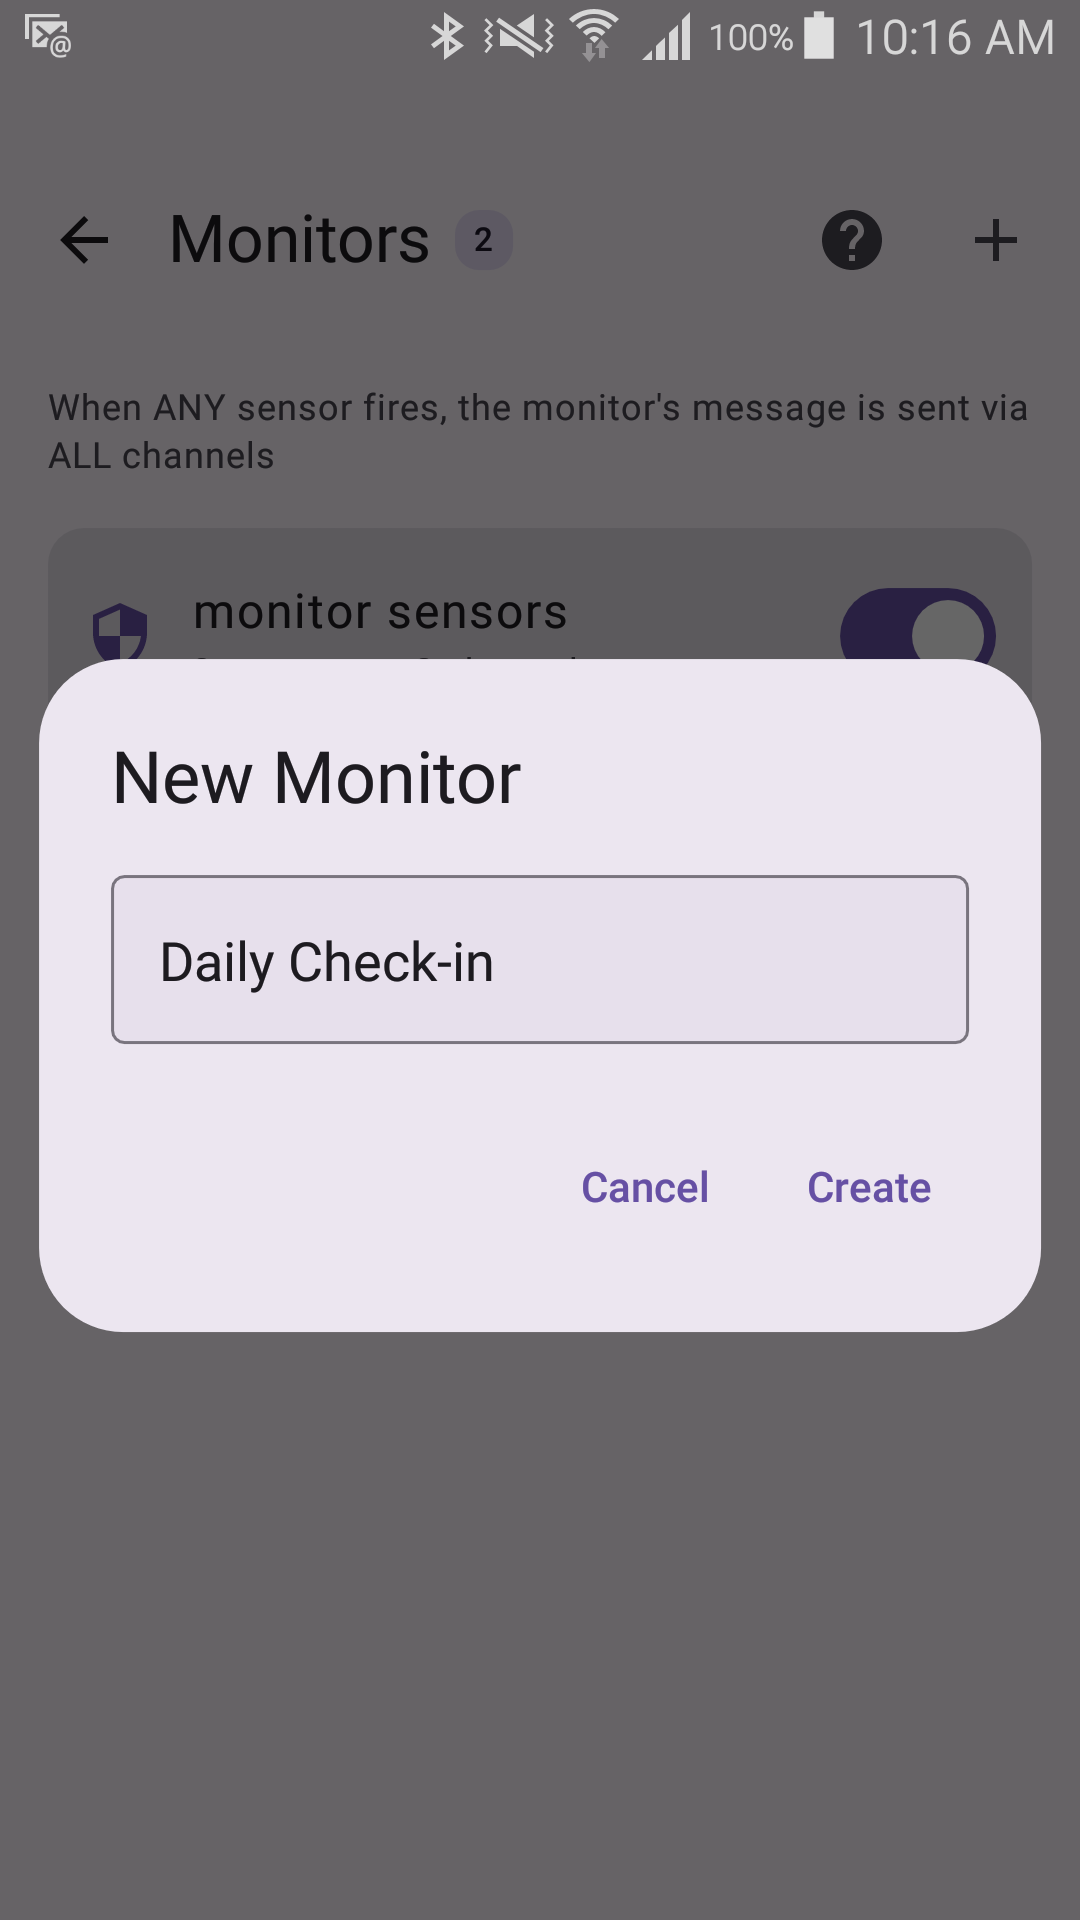
- A small dialog asks for a name first — type one you'll recognize and confirm it. The monitor's own edit screen then opens.
- Choose one or more sensors (any one firing is enough).
- Choose one or more channels to alert you.
- Optionally turn on an alert for when it becomes safe again.
- Optionally write your own alert messages.
- There is no Save button. Tap the back arrow when you're done — the monitor edit screen saves what you chose as you leave it. (If the sensors you picked contradict each other, it asks about that before letting you go.)
Tips for a reliable setup
- Use more than one sensor as a backup for each other.
- Use more than one channel so you're more likely to actually see the alert.
- Mix on-device and remote channels (for example, Alert Screen plus a text message).
- Test the whole setup before you rely on it.
- Check the Event Log now and then to confirm monitoring is working.
While monitoring is running
Sensors, channels, monitors and the monitoring settings can't be changed while monitoring is active, to prevent a change landing mid-session — you can still view everything, just not edit it. Stop monitoring first if you need to make a change. (Display settings and the app lock are deliberately still available while armed.)
Event Log
The Event Log (the history icon on the main screen) records two things: what each channel did — sent, played, failed, and why — including the results of retries, and when monitoring started and stopped. Use it to confirm an alert really went out, or to figure out what happened after one.
It is not a trace of the sensors themselves: it does not show individual sensor readings, the waiting-and-confirming of a debounce, or why a particular reading was or wasn't treated as a departure.